Page 1 of 2

10kW BLDC outrunner drive

Posted: Sun Nov 23, 2008 8:19 pm
by bobc
So far just plans... I think Jeremy's multi-motor approach is just the thing for a big "secret project" I've started on, but we'll need special electronic drives.
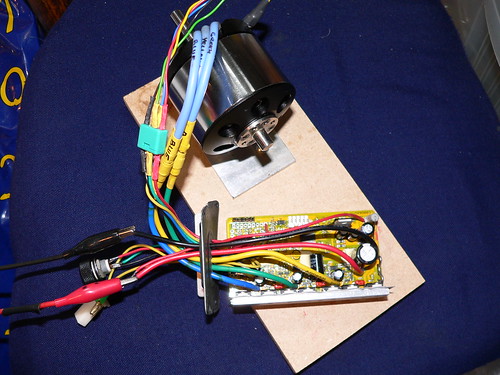
Current plan is to make "drive modules" with 4x 2.5kW outrunner motors on a single shaft - so I'll need a 40V 300A converter for each module.
I intend to use slotted opto switches to control the commutation process & have a separate "buck" converter driven by a current mode SMPS controller to control its DC link. I hope that by separating the control and commutation tasks, and by not attempting sensorless (BEMF) control, I will end up with a task that is POSSIBLE at home in a reasonable timeframe. Furthermore the "current mode" switcher will limit any fault currents & make my power stage more likely to survive the development process...
Development steps are:
1) make a single motor drive & dynamometer test bench using an induction motor & inverter. This will be tried in a 36V battery training vehicle by our greenpower team.
sub tasks: a) make a little 5A inverter running from bench supply in current limit, spin motor, resolve position feedback sensitivity & accuracy issues: b) make the front end converter (synchronous buck, current mode): c) beef it all up
2) Extend to 4 motors on a longer shaft & 10kW
3) combine several modules onto a single driveshaft using a special reducing combining gearbox.
I'll try to keep the forum up to date on progress as it happens. I'll open a flickr account for the pictures I guess - my free web-space from my ISP is pretty full now!

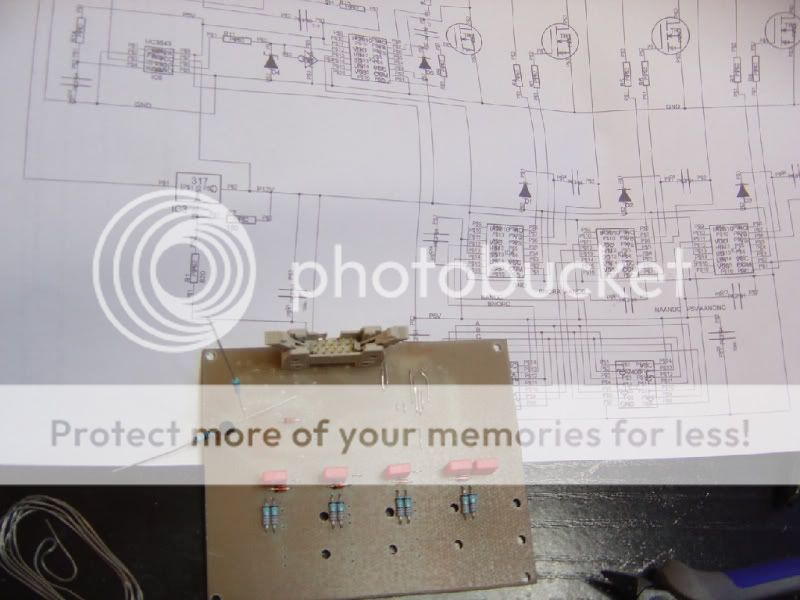
Progress to date: 1st PCB (with the slotted switched) now being produced

Posted: Tue Jan 06, 2009 1:18 pm
by bobc
Some progress, but it's been way too cold to spend time in my shed....
just found this:
http://en.wikipedia.org/wiki/Outrunner
we were discussing windings on another thread.
I'll add a couple of PCB pictures soon, the opto board & slotty wheel are done & I've started on the drive board.
Bob

Posted: Fri Jan 16, 2009 12:08 pm
by sparky_mark
Hi

Hows the progress with this project? I'm interested in using brushless motors myself and am interested to hear how you are getting on with your controller.

I think you are right to avoid sensorless control, but why use the power supply to limit the current? I think it would be much easier to use one of the many controller ICs available such as this one. It has sensor, speed, and direction inputs, and can limit the drive current. As and when I get under way with my project, this is the route I will most likely take.

Mark

Posted: Sun Jan 25, 2009 5:44 pm
by bobc
Not much progress lateley - been sourcing other bits & designing suspension. Anyway here are a couple of pictures... No. 1 is the first inverter made from toggle switches - confirmed the motor basically does what I thought & reached a maximum speed of about 0.1rpm
Image
No. 2 has electronic switches (phew) & should operate with a torque setpoint via the input current controlled synchronous buck converter up to a max speed set by the battery voltage.... we'll see if I can make it fly over the coming weeks.
Image
cheers Bob

Posted: Mon May 18, 2009 7:47 pm
by bobc
A little bit more progress; parts of the circuit are coming to life, the logic works OK but the gate drivers don't yet. I've been putting the motor hardware together, here's a snap of the home made 'taperlok' thingy I'm using to connect the motors to the shaft
Image
I hope progress will acelerate somewhat now summer's here (increases shed time no end.....)

Posted: Mon May 18, 2009 9:07 pm
by Jeremy
Out of interest, I did some interesting mods to these motors. I managed to fit three Hall sensors to one, to allow it to be used with a non-back EMF sensing controller and found that it worked extremely well indeed. The controller I used was a cheap one from Ebay, less than £30 delivered from China, but with a great deal of useful functionality, like ebraking, built in regeneration and PC programmability via a USB to serial adapter and a simple bit of software. I changed the FETs in the controller and it's now good for about 50amps at up to 60V or so.

The other useful mod was to reconfigure the motor wiring internally, to switch it from delta to star. This reduces the Kv by a factor of 1.73, and increases torque at the same time. Using the Hall sensor feedback controller has massively increased the low speed torque as well, the motor now delivers lot's of torque from a standstill, whereas with the back EMF feedback controller the motor would stall quite easily at low speeds, as the controller lost sync.

Hhere are some photos:

Image

This is one of the Hall sensors fitted into the motor stator and bonded in place with epoxy resin. There are three of these, arranged at 120 degrees around the motor.

Image

This is a shot of the motor on a test stand, with the cheap Chinese controller, retrofitted with IRFB3077 FETs to reduce the controller losses and increase the safe current. This controller has programmable current limiting, including the ability to set the safe phase current, as well as the battery current. It also has a programmable low voltage cut off. It's microcontroller based and uses an Infineon XC846 controller chip. I purchsed some 18 FET versions from the same chap, as populated circuit boards, minus the FETs, but including the extruded alloy cases and hardware. Two of these much bigger controllers (they are good for around 100 to 150A at up to about 90V) cost $130 including shipping, or about £45 each. The FETs will add another £20 or so to each one though, making the total cost per controller around £55 to £60, which still seems pretty good.

Here's an Ebay link to the smaller, 6 FET controller that is shown in the photo above: http://tinyurl.com/otqebw

Although it's rated at just 350W, it has the same FET drive circuit as the much bigger controllers, so increasing the rated power is easy, just change the FETs, adjust the current limit shunt and microcontroller settings and the controller is good for a couple of kW or more, with no trouble at all.

Jeremy

Posted: Tue May 19, 2009 8:55 am
by qdos
Good to hear about what you're doing with these Jeremy. Would love to see them in action on a vehicle. Been wondering how you were doing with these.

Posted: Tue May 19, 2009 4:56 pm
by bobc
Hi Jeremy,
some good information there: I used an external slotted opto solution for feedback, I suspected the low speed running would be better with feedback.
The fact that the motor is wired in delta is interesting; I may well fish out all 6 wires & wire the motors on a common shaft in series: raising the V & reducing the I for the 10kW compound motor (4 on a shaft).
Have you run at high load yet? I have a suspicion that although the motors are advertised at 2.9kW, that this is just for 10s to 15s & it might be a LOT less continuous rated. I need about a minute at full smoke....
It's interesting that the hall sensors do the trick (I suspected there may be problems with the stator field interfering with the position feedback) I must say it does give a nice neat solution, & a lot more robust than my external optos!
Bob

Posted: Tue May 19, 2009 6:15 pm
by Jeremy
Bob,

I've not done masses of qualitative testing, but can confirm that the low speed torque is massively improved by using the Hall sensor feedback.

I wholly agree about the power rating, these motors will apparently deliver rated power when run at max rpm, with a fairly hefty airflow through them, but are designed for an application where the power is proportional to the cube of rpm (which is the absorption characteristic of a propeller). I am sure that they will run into heat build up problems if run at high torque and low speed.

Bringing the wires out to enable delta/star conversion is easy. Here is a link to a thread on Endless Sphere showing what I did: http://tinyurl.com/ptrk9q

Jeremy

Posted: Mon May 25, 2009 10:45 pm
by bobc
Hi Jeremy,
can you tell me which bits you used for the hall sensors? save me doing the online catalog sweep....
The opto solution is proving to be a bit of a pain as I can't work on it in the shed when the sun's shining.........
thanks
Bob